Views: 102
Disclaimer
“This guide is for authorized testing in a controlled environment. Obtain written approval before sending any simulated emails.”
Installing GoPhish on Ubuntu 24.04
GoPhish provides a complete platform to design, launch, and track phishing campaigns — making it the perfect entry point for building phishing simulations in a controlled red team lab.
Phishing simulations are one of the most effective ways to measure organizational resilience against social engineering attacks. In this first part of The Bait Lab series, we’ll set up GoPhish, a powerful open-source phishing framework, on an Ubuntu 24.04 LTS.
GoPhish provides a complete platform to design, launch, and track phishing campaigns — making it the perfect entry point for building phishing simulations.
🛠 Prerequisites
Before we begin, ensure you have:
- A fresh Ubuntu 24.04 LTS machine (VM or server)
- A user account with sudo privileges
- Basic knowledge of Linux terminal commands
- Internet connectivity
Step 1: Update System Packages
Start by keeping the system up to date:
sudo apt update && sudo apt upgrade -yStep 2: Install Dependencies
GoPhish is distributed as a standalone binary, but we’ll need some common tools:
sudo apt install wget unzip -yStep 3: Download GoPhish
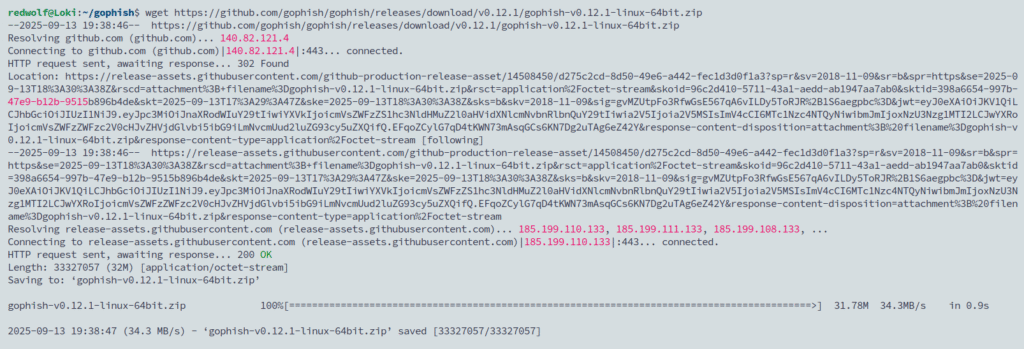
Navigate to the GoPhish releases page on GitHub and copy the link to the latest Linux 64-bit release.
As of writing, the latest stable version is 0.12.1.
wget https://github.com/gophish/gophish/releases/download/v0.12.1/gophish-v0.12.1-linux-64bit.zip
Step 4: Extract the Package
Unzip the archive and move into the extracted folder:
unzip gophish-v0.12.1-linux-64bit.zip
Mark the GoPhish binary as executable:
chmod +x gophish
Step 6: Modify Configuration for Remote Admin Access
To make the admin portal accessible externally:
Open the configuration file using the nano text editor:
nano config.jasonLocate the line with the admin server’s listen_url. Change it from:
“listen_url”: “127.0.0.1:3333”

to:
“listen_url”: “0.0.0.0:3333”

Save the file.
Step 7: Run GoPhish
Start the GoPhish server:
sudo ./gophishYou should see log output indicating that GoPhish has started. Look for a line showing the initial login credentials. The default username is admin, and a temporary password will be generated.
- Username:
admin - Password: (auto-generated, shown in the terminal on first run)
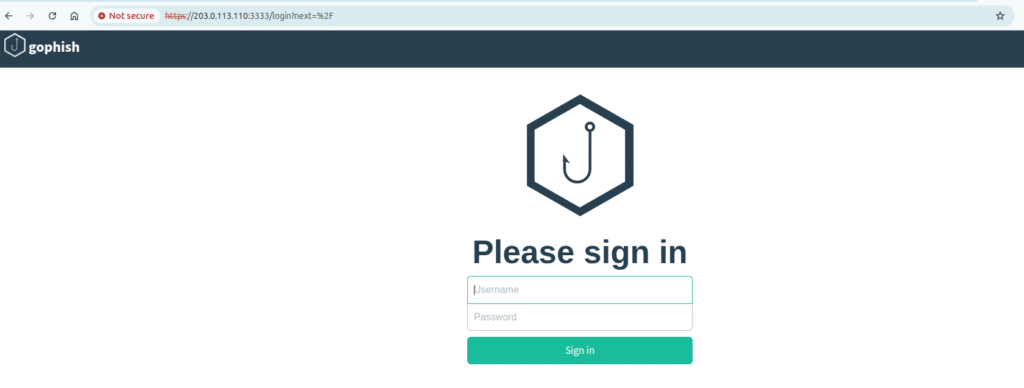
Step 8: Access the Admin Interface
Open a browser and go to:
https://<your_server_ip>:3333
⚠️ You may see a browser warning due to the self-signed SSL certificate. Accept it and proceed.

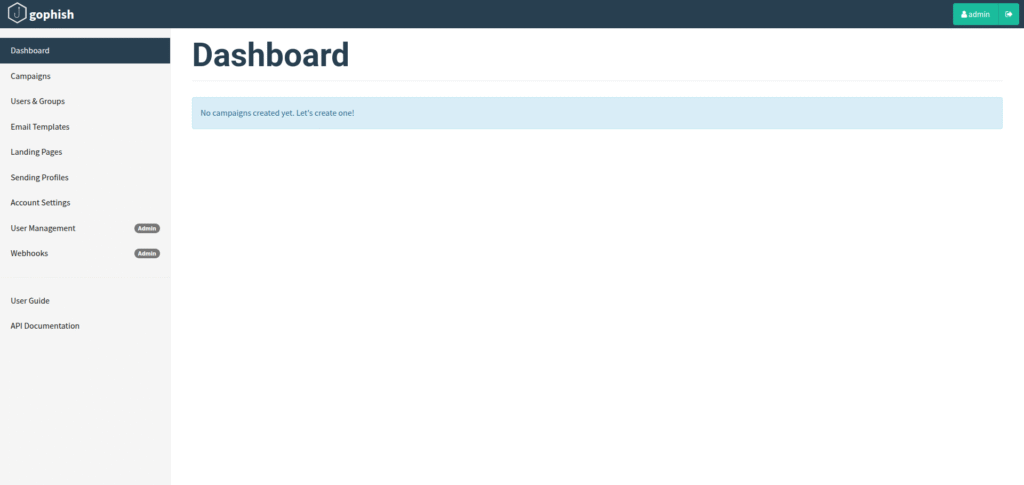
Log in with the provided credentials and set a new strong password.

✅ Conclusion
We now have GoPhish running on Ubuntu 24.04. With the admin portal ready, you can start creating phishing templates, landing pages, and campaigns.
In the next part of The Bait Lab, we’ll cover:
- Configuring DNS & email servers for phishing campaigns
- Designing realistic phishing templates
- Tracking campaign results
Stay tuned for Part II!


