Views: 417
Introduction
In the ever-evolving world of Digital Forensics and Incident Response (DFIR), having a powerful tool at your disposal is essential. Velociraptor stands out as an advanced, open-source endpoint monitoring, digital forensics, and cyber response platform. Developed by DFIR professionals, it empowers teams to hunt for specific artifacts and monitor activity across a fleet of endpoints. Whether you’re investigating data breaches or responding to complex cyber incidents, Velociraptor provides the capabilities to do so efficiently.
Velociraptor is now part of Rapid7.
In this article, I’ll walk you through how to deploy Velociraptor in a server-client architecture within a Docker environment. This setup will allow you to better understand the core functionality of Velociraptor and how to get started in a lab environment.
Docker Installation
To kick off the installation, first, ensure there are no conflicting Docker packages by running the following command:
for pkg in docker.io docker-doc docker-compose docker-compose-v2 podman-docker containerd runc; do sudo apt-get remove $pkg; doneNext, set up Docker’s apt repository:
# Add Docker's official GPG key:
sudo apt-get update
sudo apt-get install ca-certificates curl
sudo install -m 0755 -d /etc/apt/keyrings
sudo curl -fsSL https://download.docker.com/linux/ubuntu/gpg -o /etc/apt/keyrings/docker.asc
sudo chmod a+r /etc/apt/keyrings/docker.asc

# Add the repository to Apt sources:
echo \
  "deb [arch=$(dpkg --print-architecture) signed-by=/etc/apt/keyrings/docker.asc] https://download.docker.com/linux/ubuntu \
  $(. /etc/os-release && echo "${UBUNTU_CODENAME:-$VERSION_CODENAME}") stable" | \
  sudo tee /etc/apt/sources.list.d/docker.list > /dev/null
sudo apt-get updateAfter adding Docker’s official repository, you can install the necessary Docker packages with:
sudo apt-get install docker-ce docker-ce-cli containerd.io docker-buildx-plugin docker-compose-pluginFinally, verify the Docker installation by running:
sudo docker run hello-worldVelociraptor Docker Setup
Once Docker is ready, clone the Velociraptor Docker repository from GitHub:
git clone https://github.com/weslambert/velociraptor-docker

cd velociraptor-docker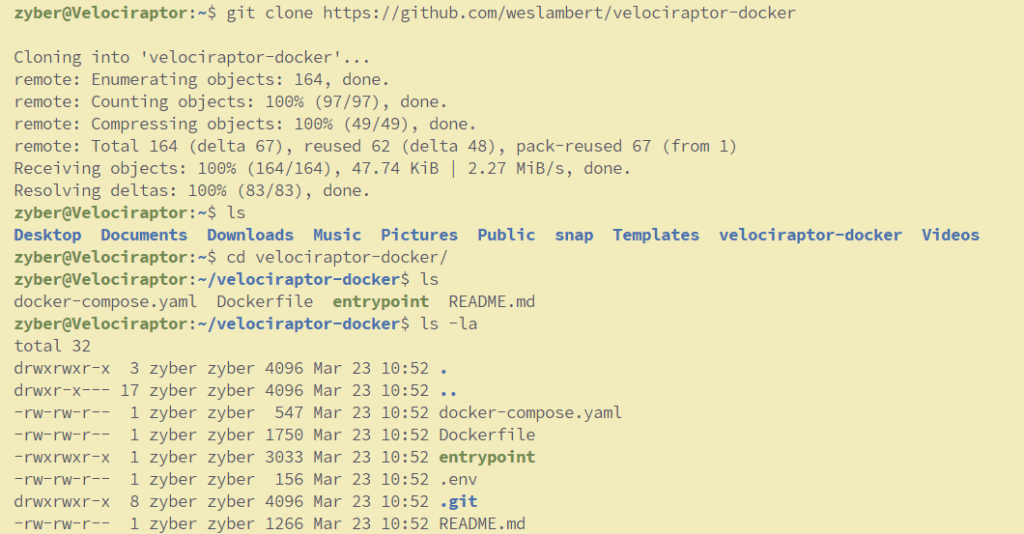
Modify the .env file as per your requirements, and then bring up the Docker container using:

docker-compose up -d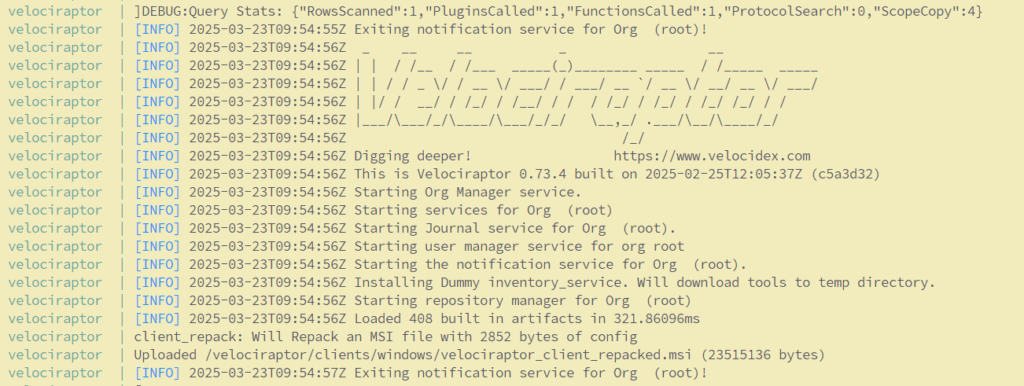
Finally, you will see something similar to the below which indicates that Velociraptor Docker instance is up.

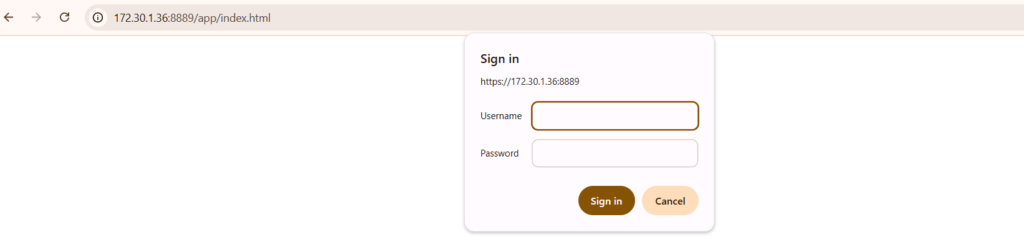
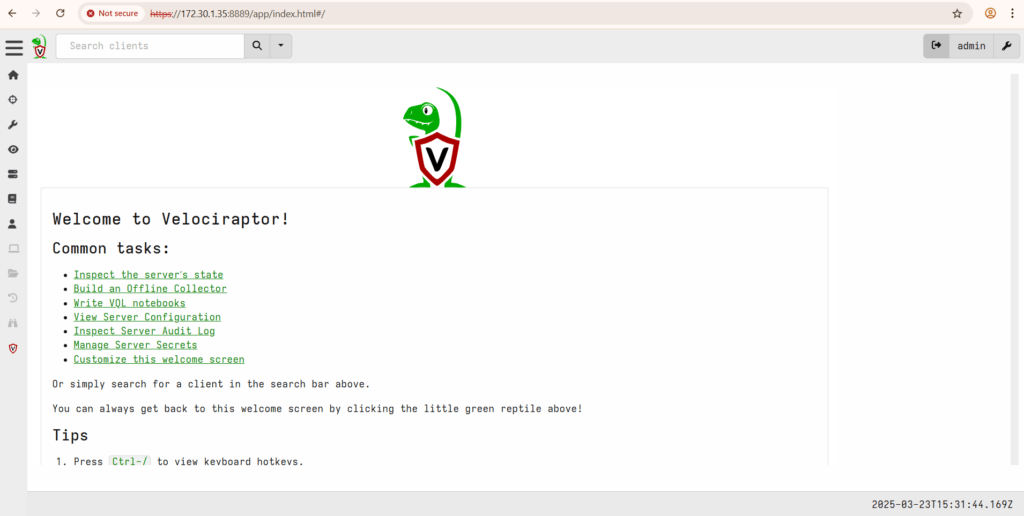
You should now be able to access Velociraptor’s GUI at http://<ip_address>:8889. Ignore any privacy errors since we’re using self-signed certificates in a lab environment. Enter the credentials as defined in the .env file, and welcome to Velociraptor!
Input the credentials in the authentication popup, as defined in the .env file.
Welcome to Velociraptor!
Creating a new Org.
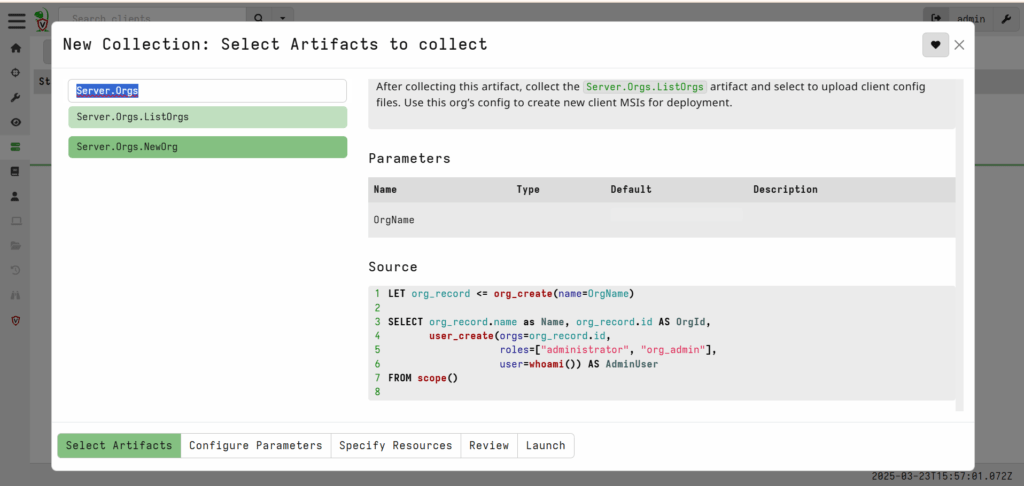
With the server component up and running, you can now create a new organization via the Velociraptor GUI. Follow these steps:
Launch the organization setup, and your new org will be created.
Select the Server.Orgs.NewOrg artifact.
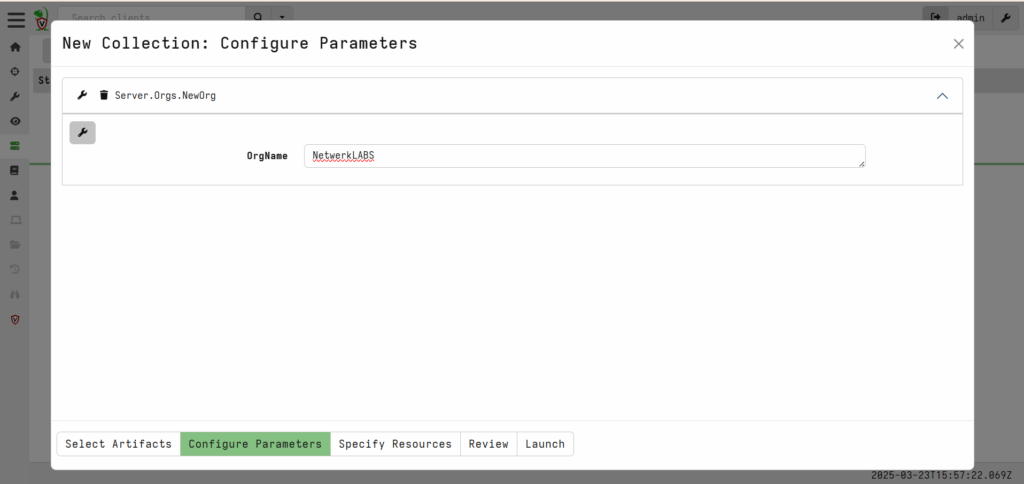
Configure the required parameters (such as organization name and resources).
Configure Parameters
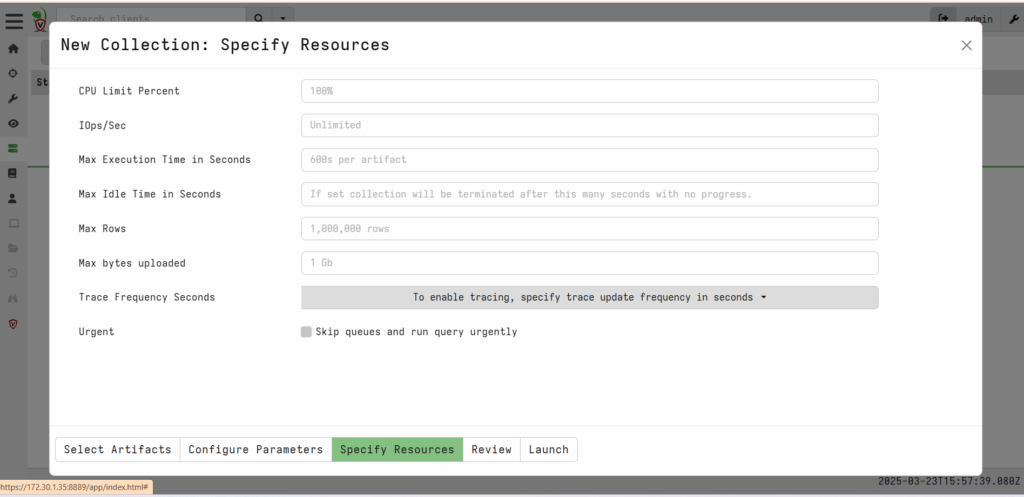
Specify Resources
Review
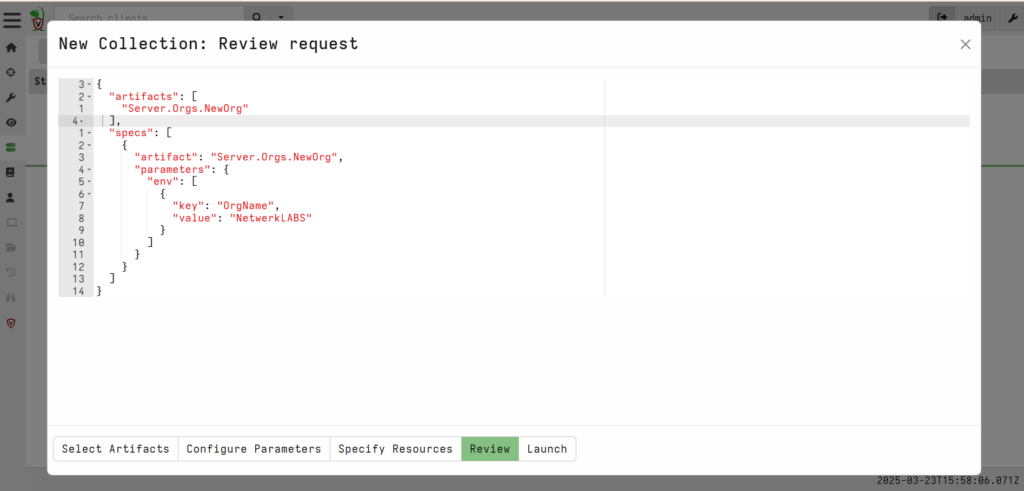
After pressing the LAUNCH button
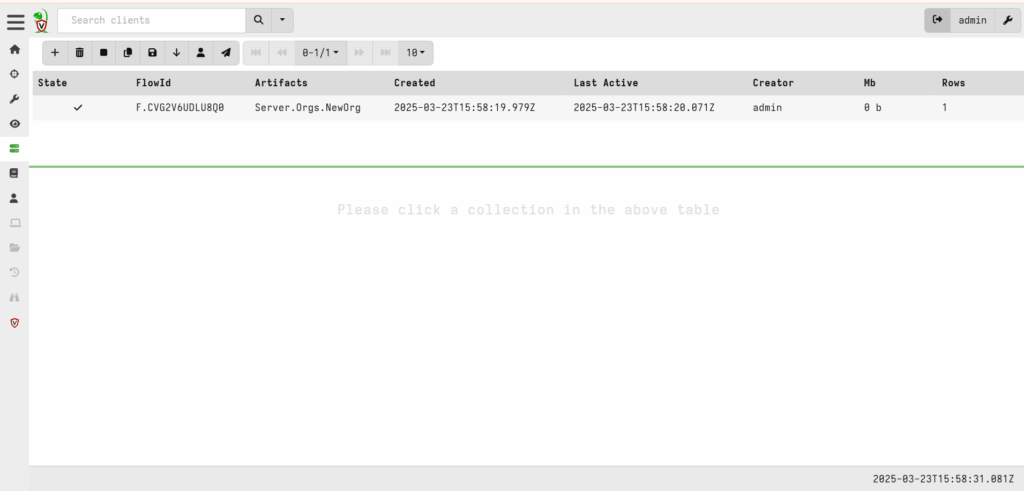
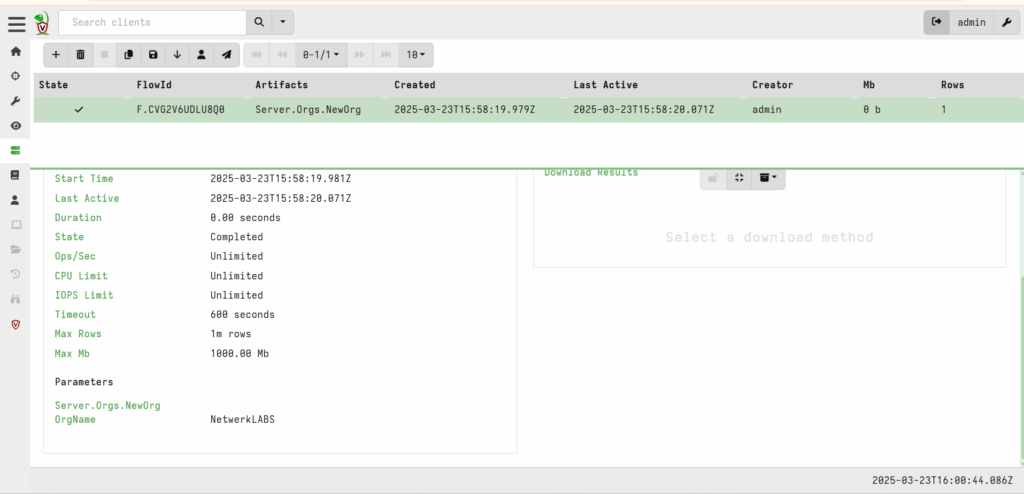
New Org created.
Deploying Clients on Windows
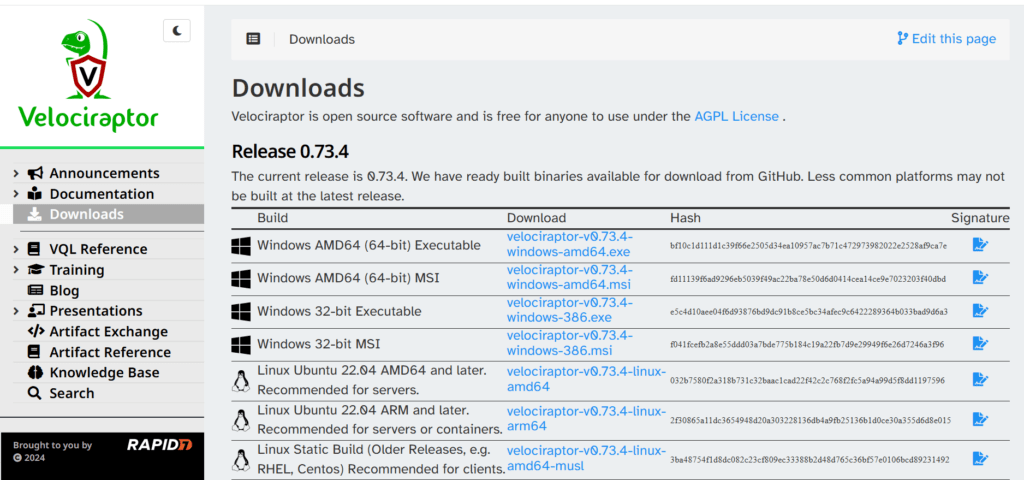
Download the following required files from the Velociraptor Github page:
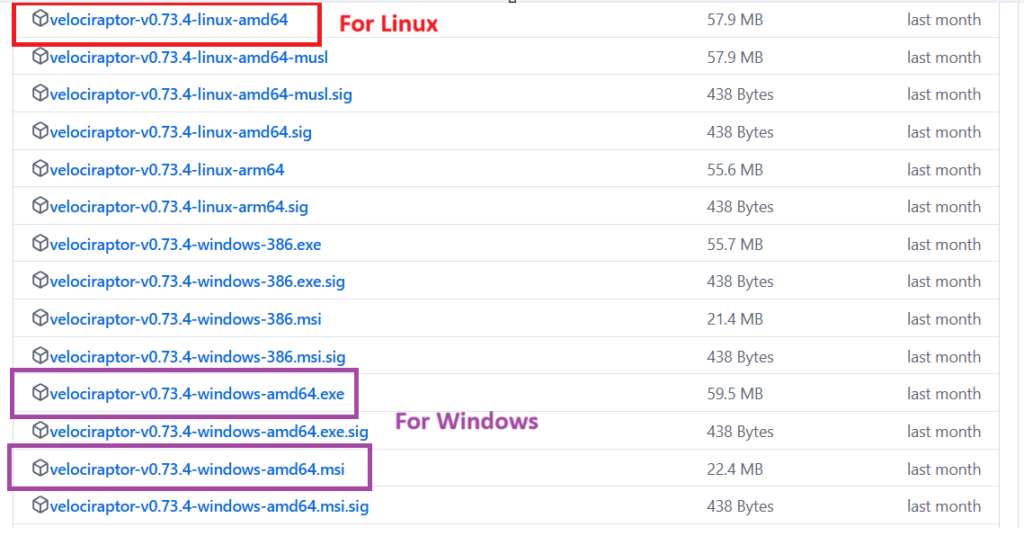
The clients can be downloaded from the below location as well.
https://docs.velociraptor.app/downloads
Client config

Deployment Methods
Running clients interactively
This method is most suitable for testing prior to deployment, for learning, or for troubleshooting.
The most simple way to run the client is by executing it in a terminal and providing it with the client configuration. The client.config.yaml is the one from the above screenshot.
./velociraptor --config client.config.yaml client -vvelociraptor.exe --config client.config.yaml client -vInstalling the client as a service
The recommended way to install Velociraptor as a client on Windows is via the release MSI which you can find on our Downloads page.
Option 1: Using the Velociraptor GUI
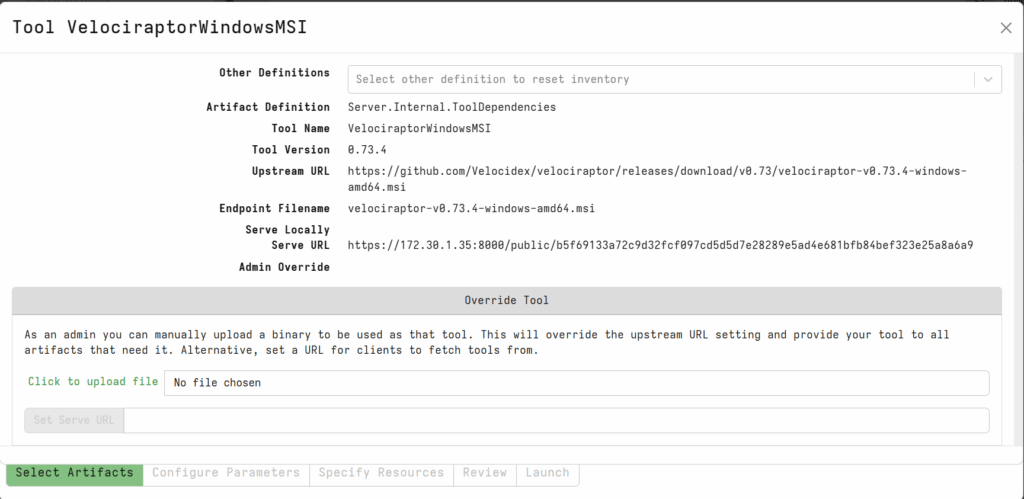
Since the Velociraptor client requires your unique configuration file to identify the location of your server, we can’t package the configuration file in the official release. Therefore, the official MSI does not include a valid configuration file. You will need to modify the release MSI to include your client configuration file, which you generated earlier , and this is done through a process we call “repacking”.
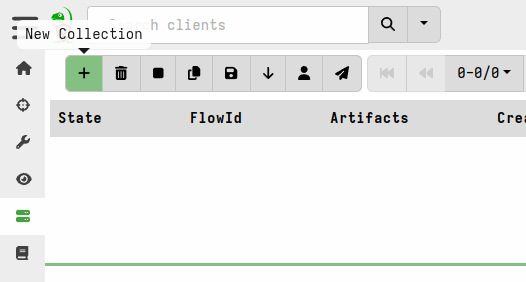
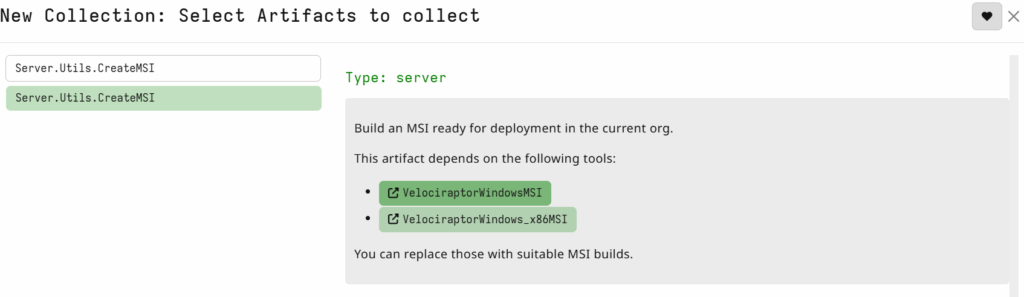
Add a new collection: search for Server.Utils.CreateMSI, select it, and then click “Launch”
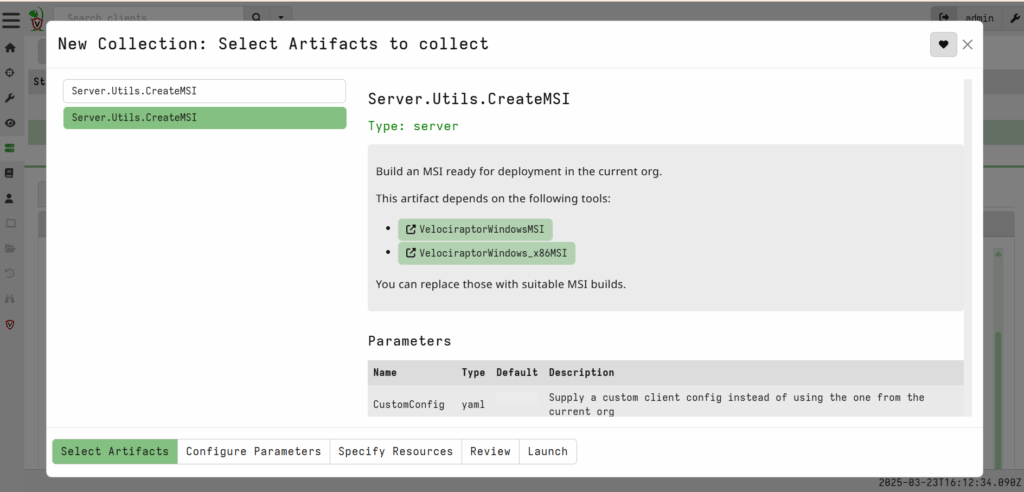
Choose the version (x86 or AMD64) appropriate for your setup.
Follow the below steps:
Configure Parameters
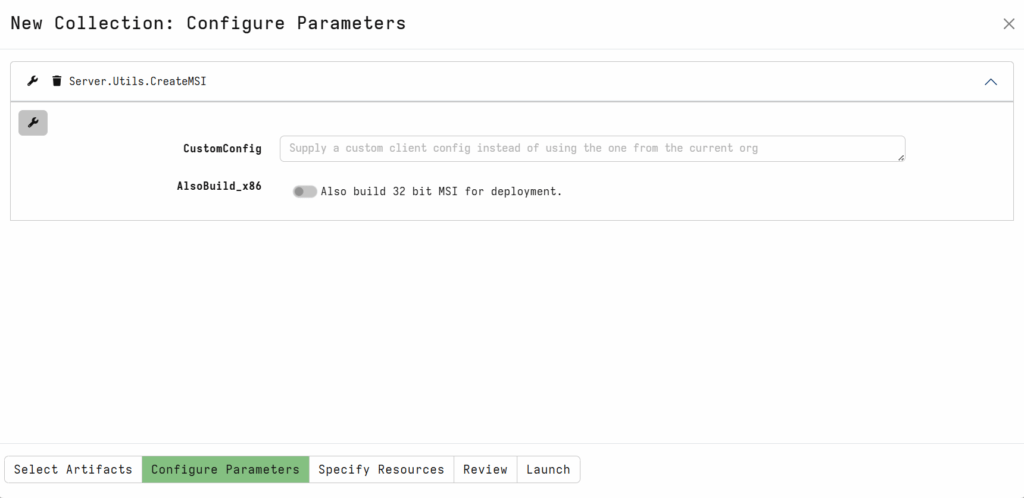
If you want, enable the 32 bit MSI build as well.
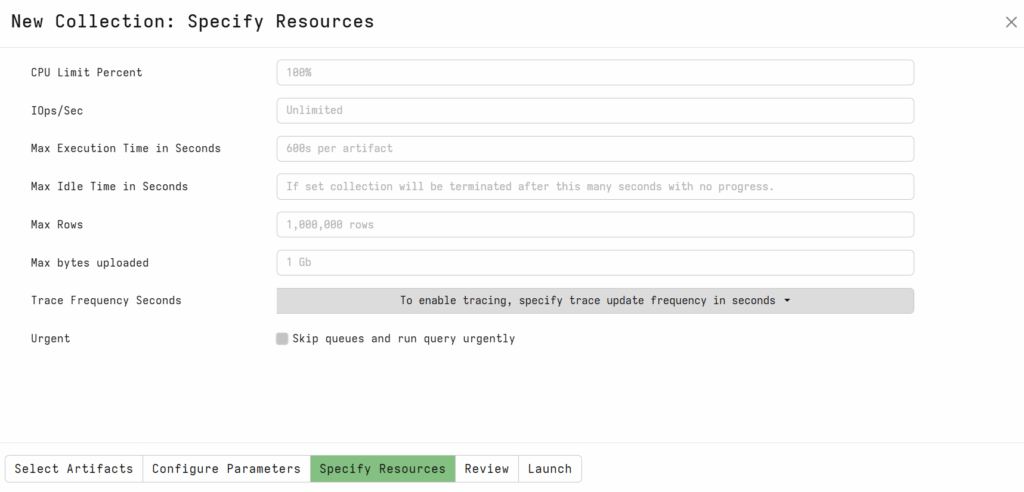
Specify Resources.
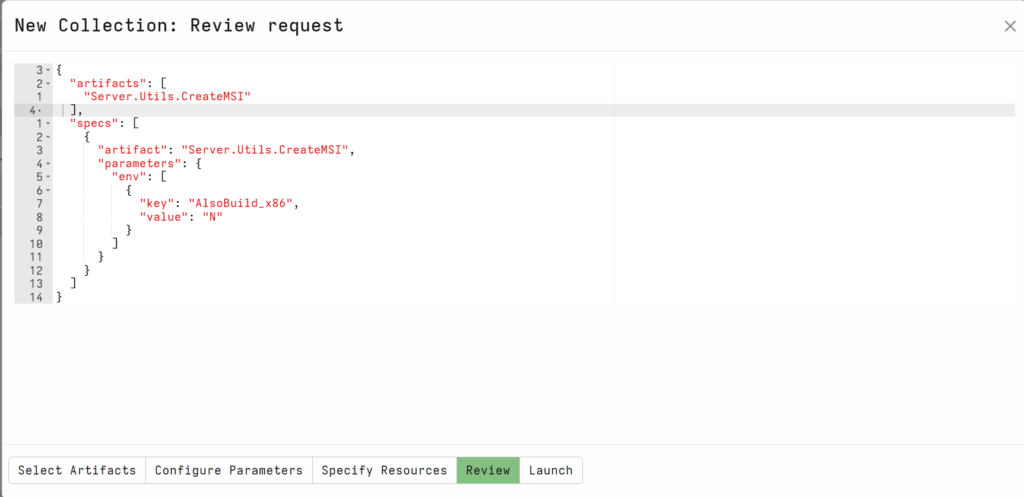
Review and then press LAUNCH
The repacked MSI will then be available in the Uploaded Files tab of the artifact collection.

Option 2: Using the command line
In this section we’d like to draw your attention to the fact that repacking the Windows MSI package can be done on any platform. It does not have to be done on Windows.
In all cases we need to tell Velociraptor which MSI we want to repack (usually it’s the official release MSI : either 64-bit or 32-bit) and what the output file should be named.
Creating the MSI package from a Linux host:
./velociraptor config repack --msi velociraptor-windows.msi client.config.yaml velociraptor-windows-repacked.msiCreating the MSI package from a Windows host:
velociraptor.exe config repack --msi velociraptor-windows.msi client.config.yaml velociraptor-windows-repacked.msiFrom a Linux host,
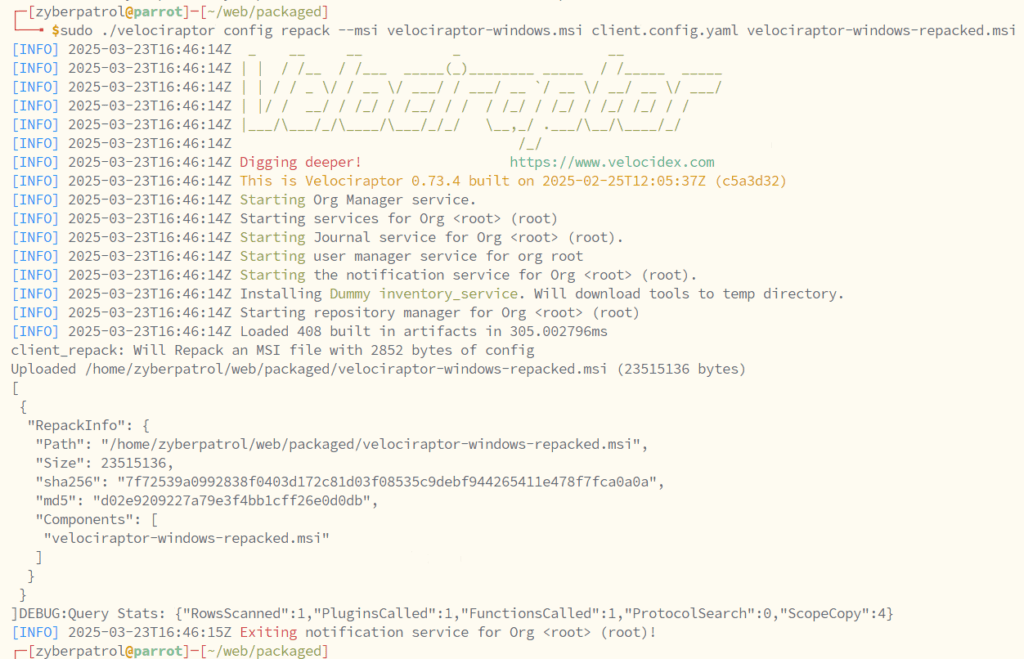
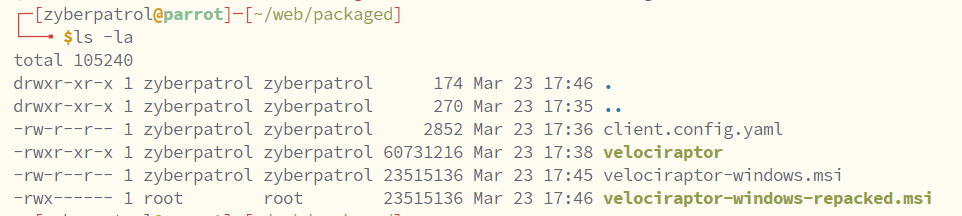
Packaged File:
Deploy the Packaged MSI file on a Windows Endpoint
Deploy the packaged Agent using the following command.
msiexec /i velociraptor-windows-repacked.msiSearching for the clients
To work with a specific client, search for it using the search bar at the top of the Admin GUI.
Click the button to see all clients or choose a preset search from the dropdown.

Client listed in the server.

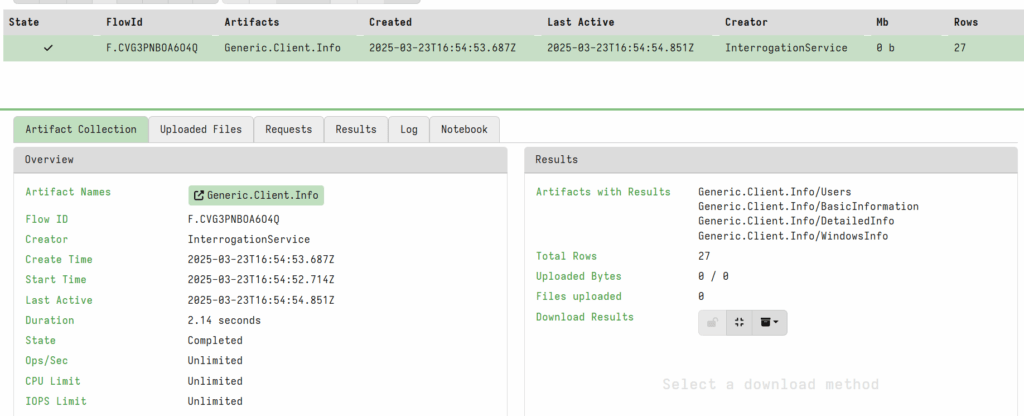
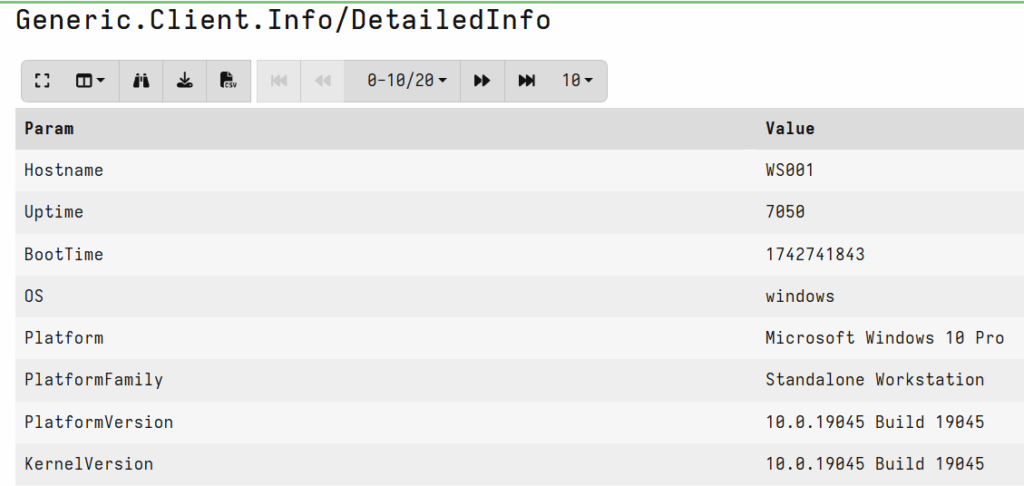
Artifacts collected sofar,
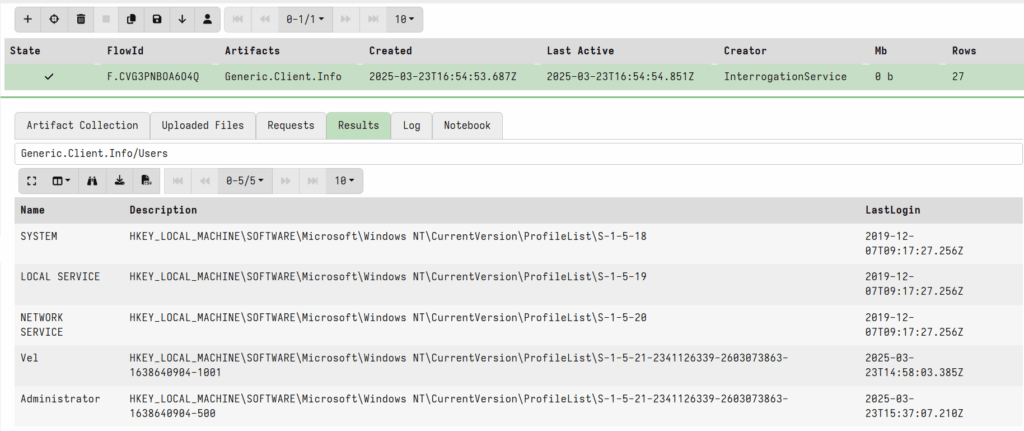
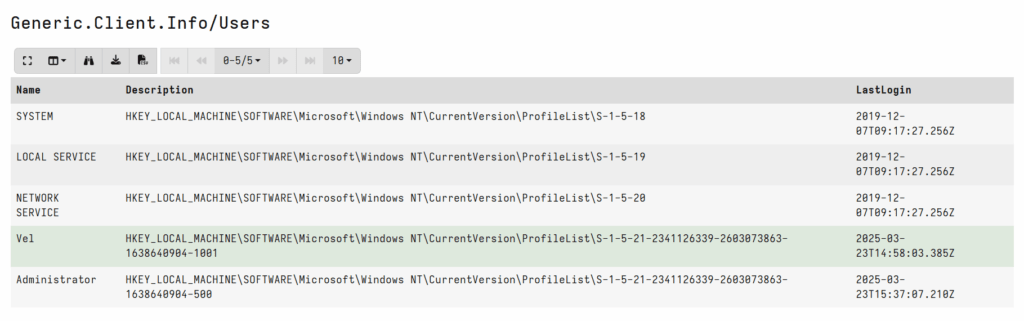
Users Enumeration
Exploring Agent Capabilities
One of Velociraptor’s powerful capabilities is remote command execution. Using the Velociraptor GUI, you can run remote PowerShell commands on endpoints. For example, let’s execute the Get-Date command to check the system date on a remote machine.
The results, along with logs of the command execution, will appear in the Velociraptor interface, providing you valuable insights into the remote machine’s state.
To begin, let’s run the Get-Date command via the shell prompt.

Result of the Powershell cmd execution.
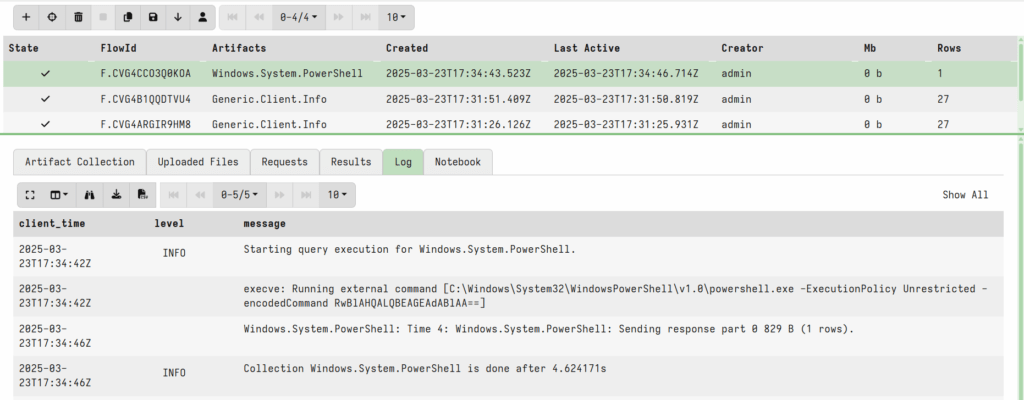
Logs for the remote execution of the Powershell commands.

Deploying Clients on Linux
Use the following command to create the DEB package.
sudo ./velociraptor debian client --config client.config.yaml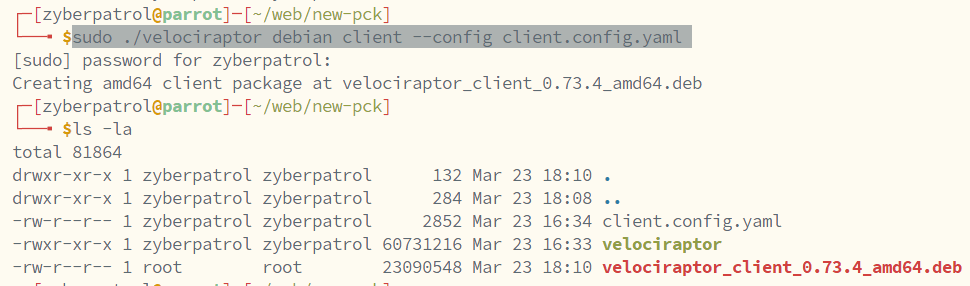
Use the created DEB package and below command to install the agent on a Ubuntu machine.
sudo dpkg -i velociraptor_client_0.73.4_amd64.deb
Check the agent status using,
systemctl status velociraptor_client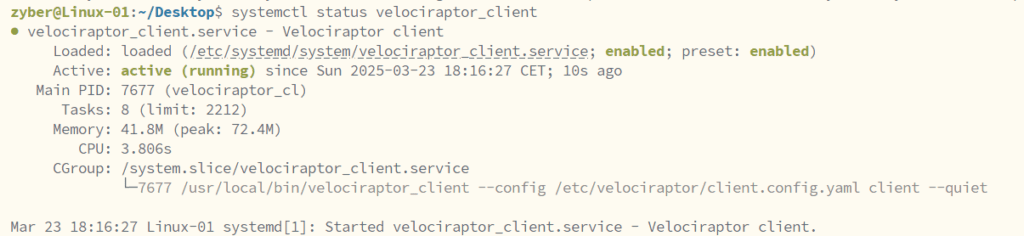
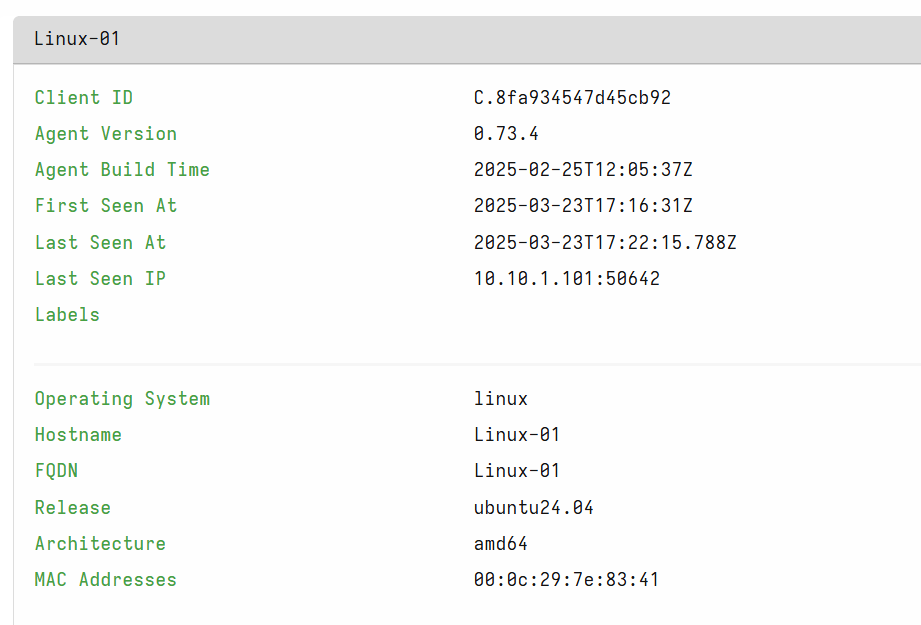
Let’s check and verify if the newly deployed agent is reporting to the Velociraptor server.

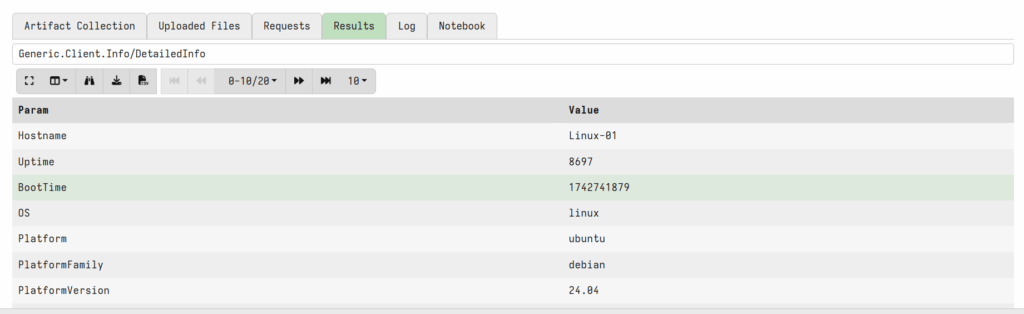
Some artifacts already reported by the Ubuntu Endpoint agent.
Wrapping Up
In this first part of our Velociraptor series, we’ve walked through the deployment of the server component in a Dockerized environment and explored various client deployment methods on both Windows and Linux. We’ve also touched upon some advanced features such as remote command execution with PowerShell.
In the upcoming parts of this series, we’ll dive deeper into Velociraptor’s advanced capabilities, including threat hunting, artifact collection, and more.