

Views: 522
OpenCTI (Open Cyber Threat Intelligence Platform) is a powerful open-source solution designed to help security teams collect, store, organize, and visualize threat intelligence in a structured way. Whether you’re a SOC analyst, threat hunter, or security researcher, OpenCTI provides a unified environment to centralize CTI data, correlate intelligence from multiple sources, and share it across teams and tools.
In this guide, we’ll walk through a step-by-step installation of OpenCTI on Ubuntu using Docker Compose — the simplest and most efficient way to get it running in a lab or production environment. By the end of this setup, you’ll have a fully functional OpenCTI instance accessible from your network, ready to integrate with connectors and ingest threat data from various feeds.
I. Prep Ubuntu (22.04/24.04 LTS both fine)
Run the following commands to install the prerequisites.
sudo apt update && sudo apt -y upgrade
sudo apt -y install curl ca-certificates gnupg lsb-release ethtool
sudo timedatectl set-timezone Europe/BrusselsII. Install Docker Engine + Compose (from official repo)
Follow the below steps to setup Docker and Docker compose on Ubuntu.
# Remove conflicting old packages (ok if none found)
for pkg in docker.io docker-doc docker-compose docker-compose-v2 podman-docker containerd runc; do sudo apt -y remove $pkg || true; done

# Add Docker’s apt repo
sudo install -m 0755 -d /etc/apt/keyrings
curl -fsSL https://download.docker.com/linux/ubuntu/gpg | sudo tee /etc/apt/keyrings/docker.asc >/dev/null
sudo chmod a+r /etc/apt/keyrings/docker.asc
echo "deb [arch=$(dpkg --print-architecture) signed-by=/etc/apt/keyrings/docker.asc] https://download.docker.com/linux/ubuntu \
$(. /etc/os-release; echo ${UBUNTU_CODENAME:-$VERSION_CODENAME}) stable" | \
sudo tee /etc/apt/sources.list.d/docker.list >/dev/null

# Install
sudo apt update
sudo apt -y install docker-ce docker-ce-cli containerd.io docker-buildx-plugin docker-compose-plugin

# Docker-compose
sudo apt install docker-compose

# (Optional) run docker without sudo for your user
sudo usermod -aG docker $USER
newgrp dockerIII. Kernel setting for Elasticsearch
OpenCTI uses Elasticsearch and needs a higher vm.max_map_count. Set it now and persist it (on the Ubuntu machine):
# Temporary (effective immediately) == Applies immediately, but only until the next reboot.
sudo sysctl -w vm.max_map_count=1048575

# Persistent across reboots
echo "vm.max_map_count=1048575" | sudo tee -a /etc/sysctl.confHere’s why they’re needed for OpenCTI:
- Elasticsearch (part of the OpenCTI stack) uses a large number of memory-mapped files.
- The default
vm.max_map_countvalue on Ubuntu (~65,536) is too low, which can cause Elasticsearch to crash or fail to start. - Setting it to
1048575ensures Elasticsearch has enough mapping capacity to index and search large datasets without hitting kernel limits.
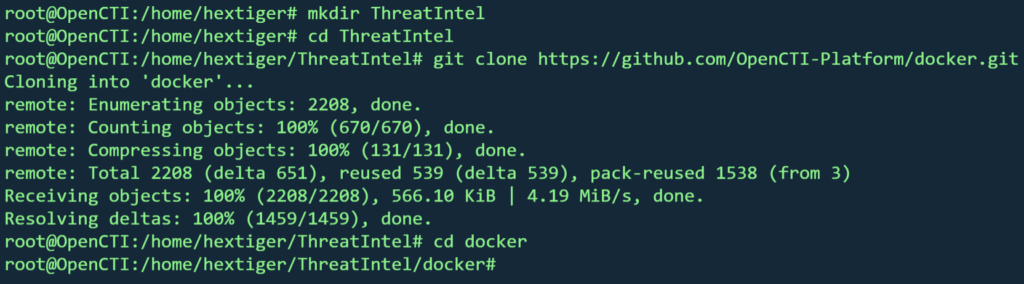
IV. Clone the repository
mkdir -p /path/to/your/app && cd /path/to/your/app
git clone https://github.com/OpenCTI-Platform/docker.git
cd dockerPlease modify the above commands as relavent to your setup.
Update the repositories:
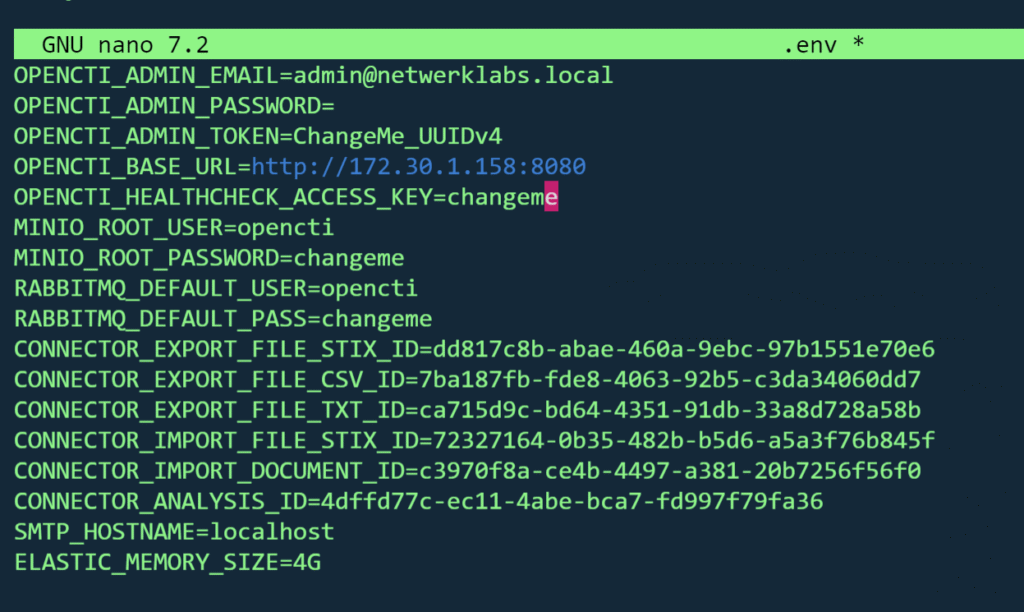
sudo apt-get updateV. Configure the environment
OpenCTI uses .env to define secrets, ports, and credentials. Edit the provided .env template:
sudo cp .env.sample .env
sudo nano .envKey values to set:
- OPENCTI_ADMIN_EMAIL → Your admin login email
- OPENCTI_ADMIN_PASSWORD → Strong password
- MINIO_ROOT_USER / MINIO_ROOT_PASSWORD → For file storage
- RABBITMQ_DEFAULT_USER / RABBITMQ_DEFAULT_PASS → For message queue
- CONNECTOR_ variables* → Enable/disable connectors
VI. Start OpenCTI Stack
(Optional): Configure the OPENCTI_ADMIN_TOKEN in .env file.
# Generate a fresh UUIDv4 and put it in .env (no quotes, no spaces)
TOK=$(uuidgen)
sed -i "s/^OPENCTI_ADMIN_TOKEN=.*/OPENCTI_ADMIN_TOKEN=$TOK/" .env

# (Optional) sanity check
grep -E "^OPENCTI_ADMIN_TOKEN=" .env
# Should look like: OPENCTI_ADMIN_TOKEN=xxxxxxxx-xxxx-xxxx-xxxx-xxxxxxxxxxxxMake sure there are no quotes around the token.
Keep your existing OPENCTI_ADMIN_EMAIL and OPENCTI_ADMIN_PASSWORD as set.
Leave connector OPENCTI_TOKEN values alone for now; you’ll generate proper API tokens from the UI after first login.
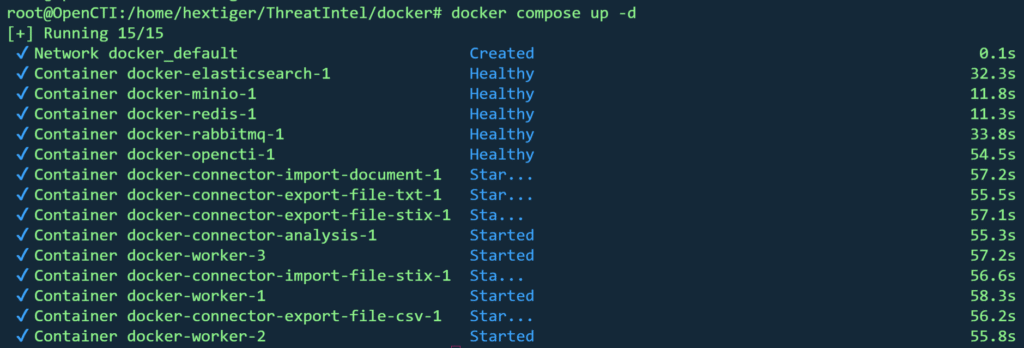
Run the docker compose to start the OpenCTI stack.
sudo docker compose up -d
This starts:
- OpenCTI core
- Elasticsearch
- Redis
- MinIO
- RabbitMQ
- Connectors
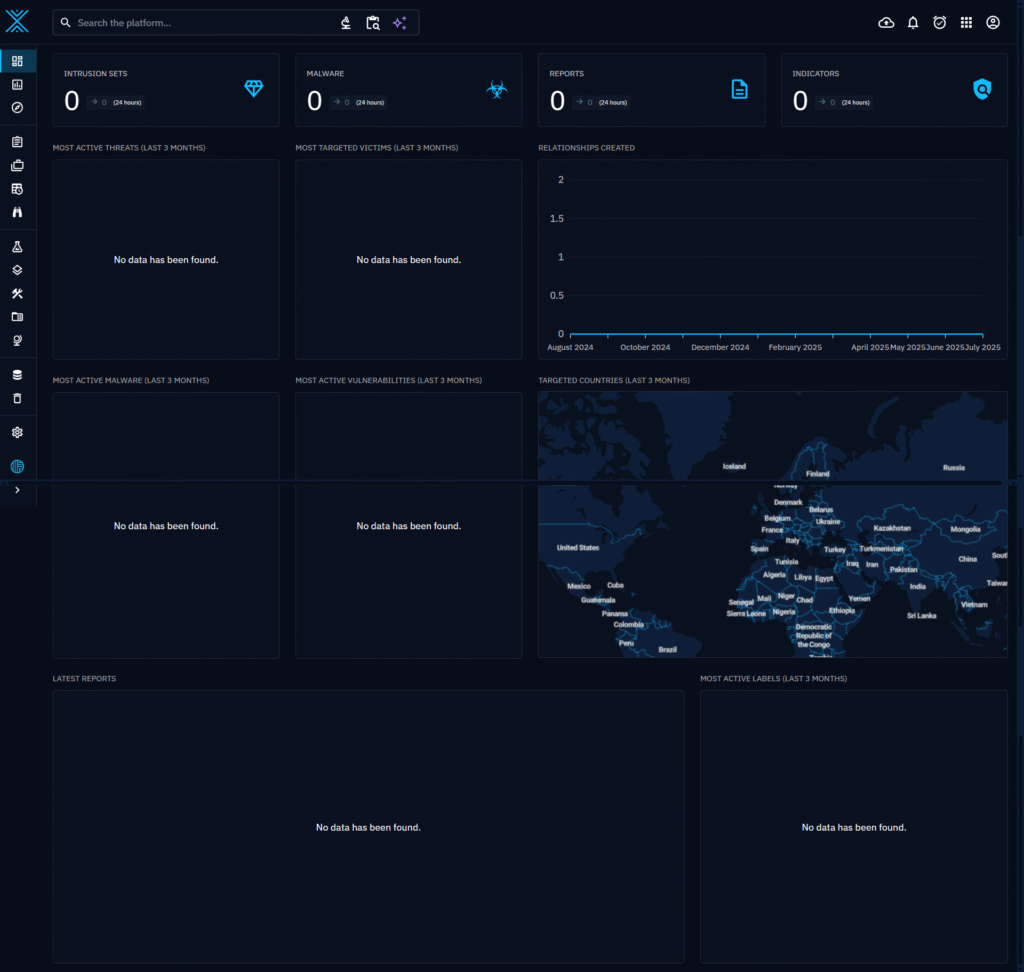
VII. Access the Web Interface
Once containers are running:
http://<your-server-ip>:8080Login with:
- Email: From
OPENCTI_ADMIN_EMAIL - Password: From
OPENCTI_ADMIN_PASSWORD
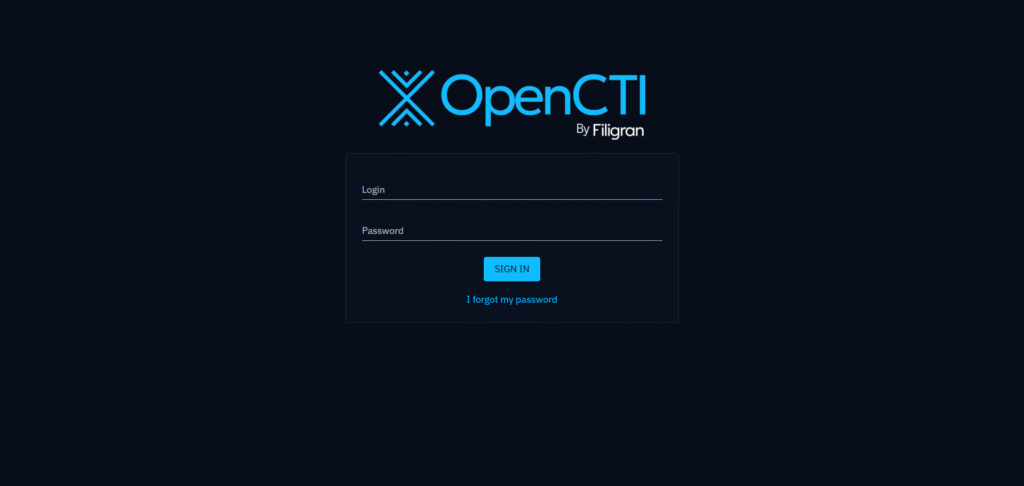
Welkom to OpenCTI!!!
VIII. Conclusion
With OpenCTI now up and running on your Ubuntu system, you’ve laid the foundation for a robust and flexible threat intelligence platform. By using Docker Compose, we’ve simplified the deployment process, making it easy to manage, update, and scale as your CTI needs grow.
This installation is just the first step. In the upcoming posts, we’ll dive deeper into exploring OpenCTI’s features, including configuring connectors, integrating with other security tools, building knowledge graphs, and sharing intelligence across your security stack. We’ll also cover practical, real-world use cases and lessons learned from hands-on lab testing, so you can get the most out of OpenCTI in your own environment.
Stay tuned — the real fun begins when we start putting OpenCTI to work! 🚀
